
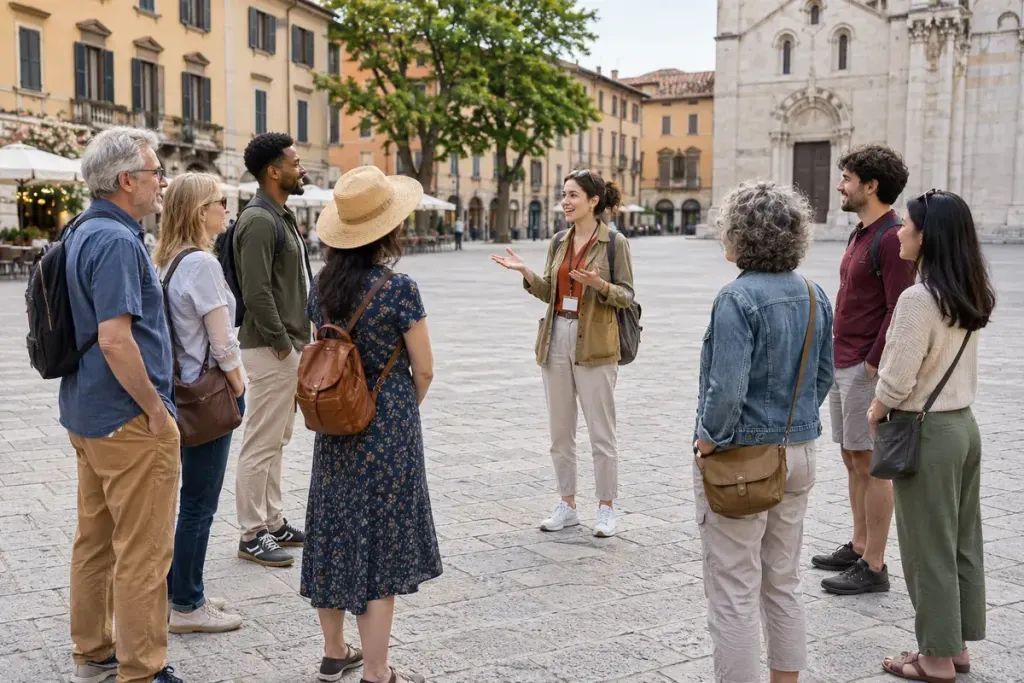
The best place to see a building is not always the best place to stop a group. A narrow pavement may offer a perfect view while leaving everyone else to squeeze past the guide’s audience.
When designing a local history walk, separate the viewing point from the speaking point. Participants might look at an inscription as they pass, then discuss it in a wider space nearby. A photograph or printed detail can support that conversation without requiring the entire group to stand directly beneath the feature.
Rehearse the pause
Walk the route at the time of day you expect to use it. Check deliveries, queues, school traffic and doors that open onto the pavement. Conditions can change, so note an alternative stop rather than treating a single reconnaissance as permanent approval.
Imagine twelve people gathering outside a former workshop. Instead of arranging them in a line along its entrance, choose a permitted gathering space where the doorway remains clear and the group can see the guide. Ask whether someone using a wheelchair can join the same conversation without being left at the back or in the road.
For each stop, record four practical details:
- The feature people should look for.
- The place where the group can gather.
- The route onward, including any crossing.
- An alternative if the space is busy or unavailable.
A short account delivered where everyone can hear is more useful than a longer one competing with traffic. Keep the departure instruction clear too: tell participants where the next regrouping point is before the front of the group moves away.
During the walk, treat residents and passers-by as people using their ordinary streets, not as obstacles to the itinerary. If a stop becomes crowded, move the explanation. The building’s history will still be there; a flexible route helps people encounter it without making the neighbourhood harder to use.